localhost Magento & Browser Installer – localhost magento index php install
Here Mage will start a test over on your environment. Though it also checks File permission, PHP extension, PHP ver, localhost magento index php install and PHP settings. Sometimes you will face some errors. If it happens please solve the issues before moving onto further setup.

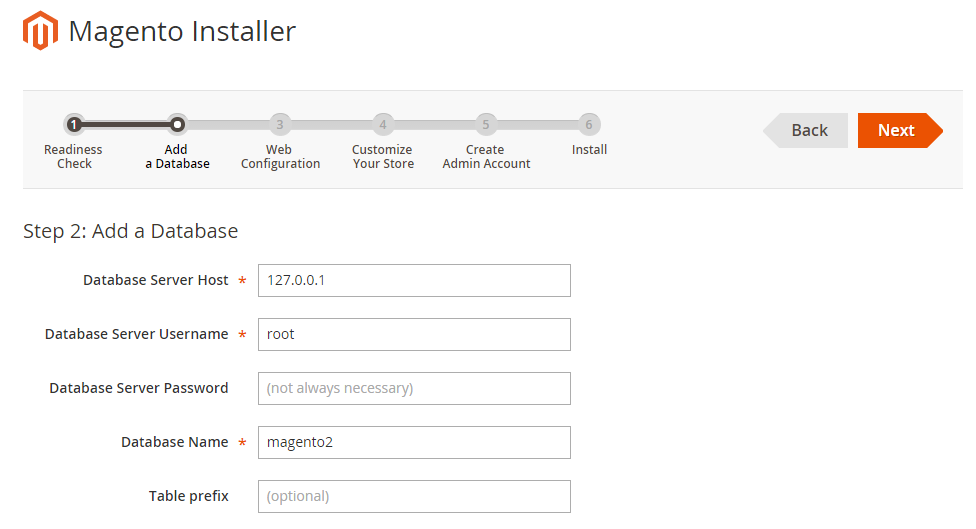
First Mage will be going ask few database details from you. So, input host “127.0.0.1” as database server. Then the “root” as username and we are already done with database name as “magento”.
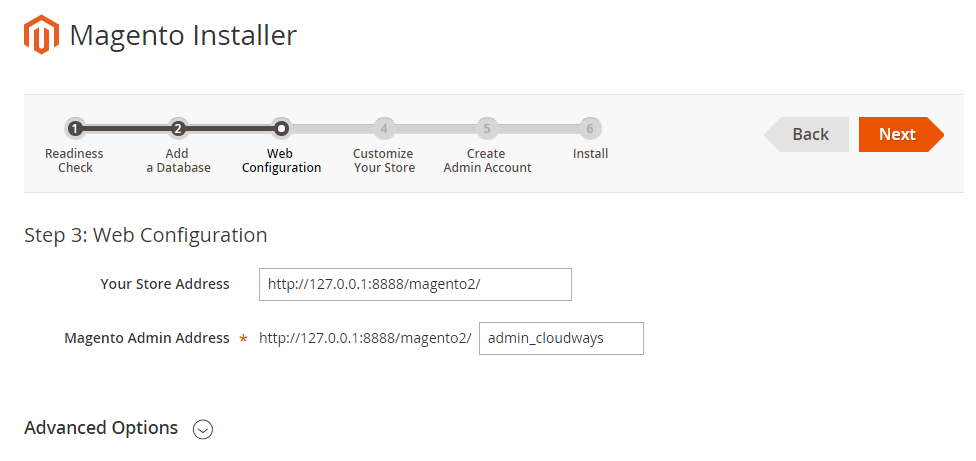
Basically, the next step is for web configurations. Here we need to provide store address along with the admin URL. Now set your store address for example: http://127.0.0.1:8888/magento/. The store address might be there by default. Right after we can enter an admin URL as per our liking.
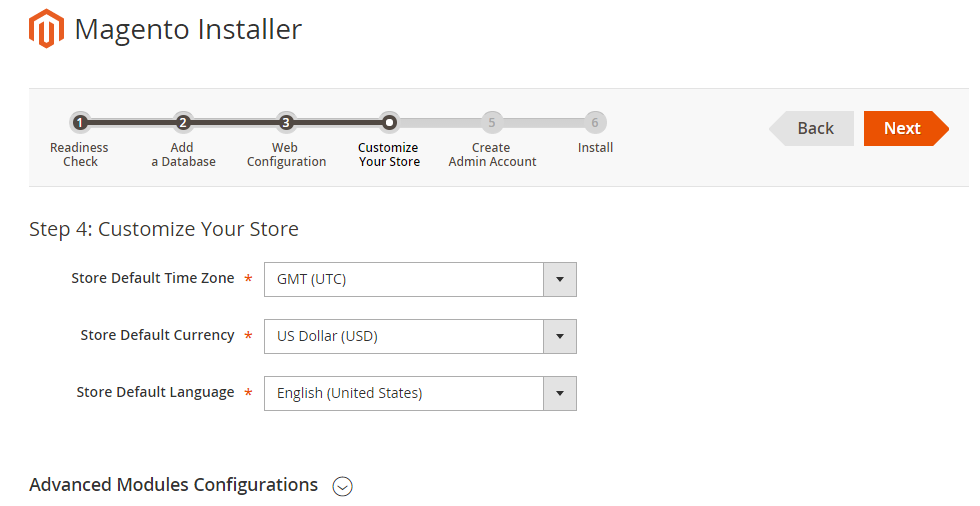
Fourthly we can chose our time zone, currency or language etc. for the Mage store.
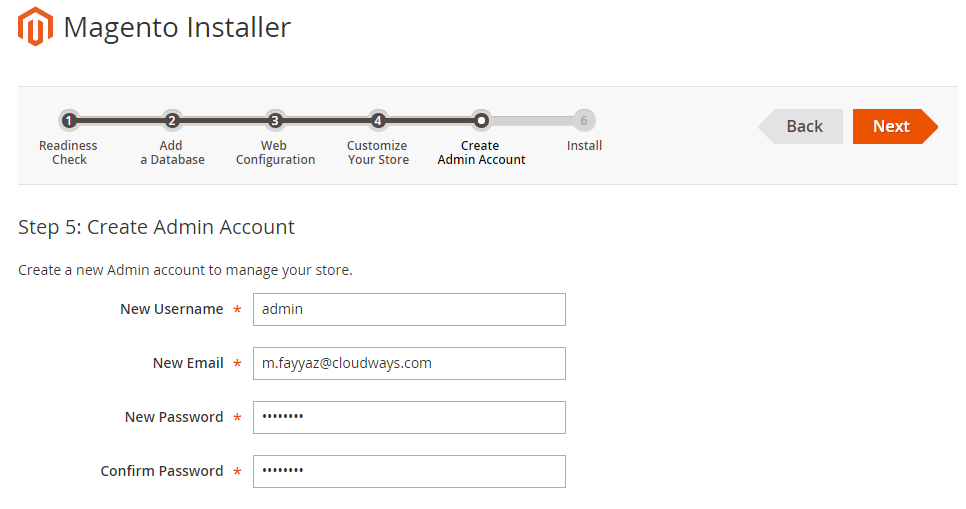
Last but not least enter the admin panel’s credentials. Please enter unique username, valid email and strong passwords to make our site secure.
Finally, we are ready to install Mage in a localhost. Press install now and wait for a few secs. Hence remember until the success notification appears don’t close your browser.
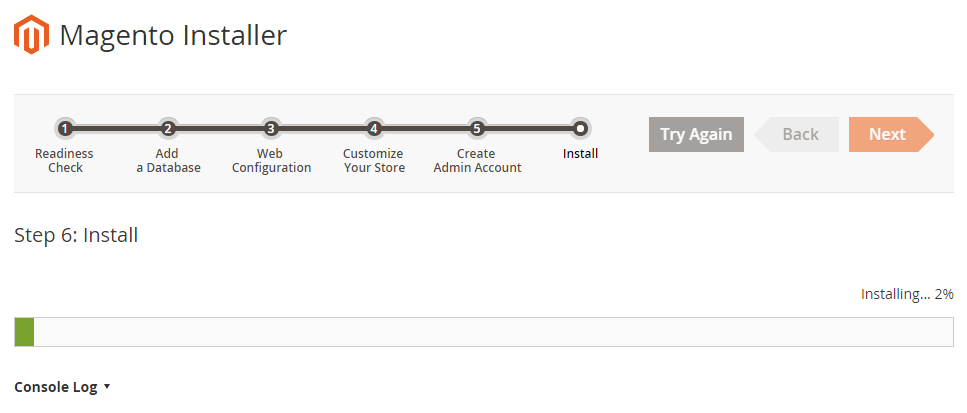
NB: Wow!! You’re doing great but we are not done yet. So, we’re not ready yet to open our store address and admin URL. Here are last few things to do to reach our goal. Here we will discuss the process of localhost magento index php install.
Verifying composer,static content & re indexing – localhost magento index php install
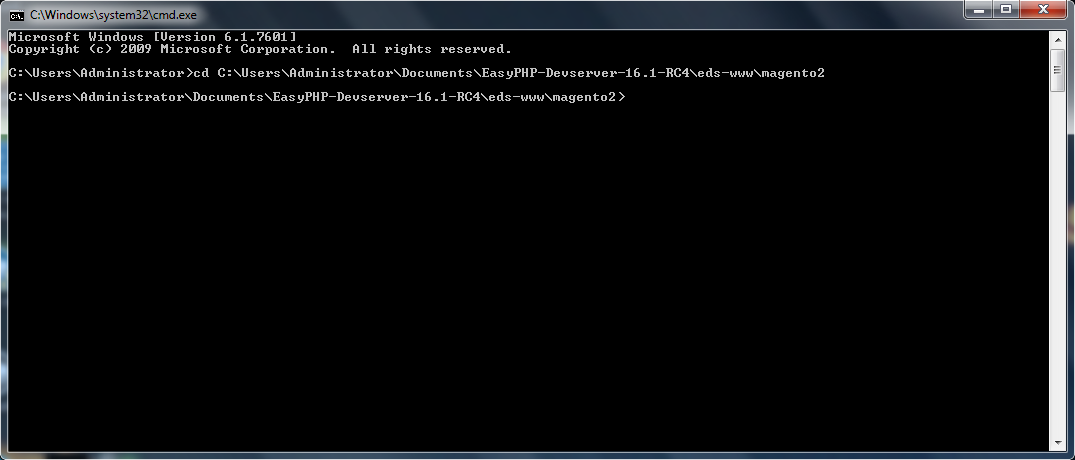
Eventually we will now verify the composer installation. Then utilize the static contents and flush Mage cache. After that using Mage 2 Commands(CLI) we will re index the Mage 2 blocks. Now press & hold WINDOWS KEY then R. Here the run dialog box will appear. Next type “cmd” and press enter to open command prompt.

Write and press enter “cd PATH_TO_YOUR_MAGENTO_FILES” to access the Mage Root Dir.
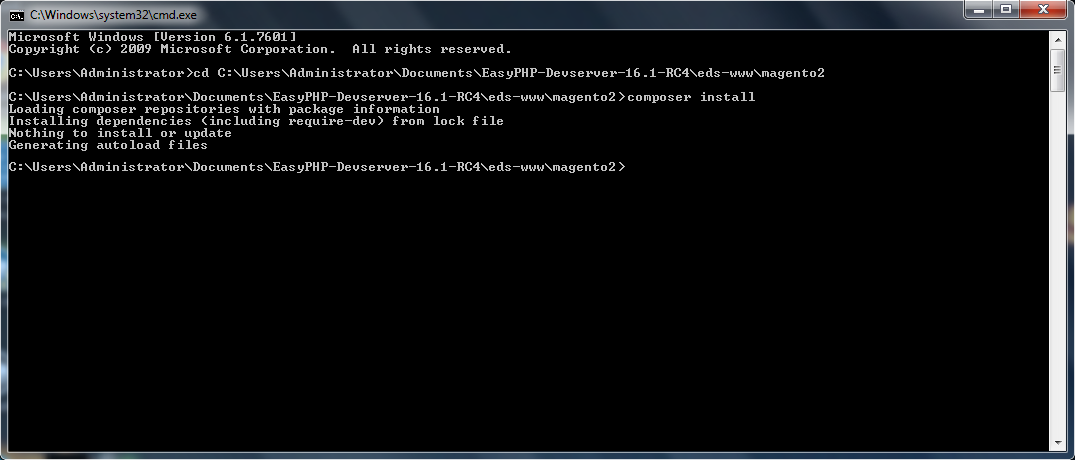
Type “composer install” and press enter to verify the composer installation in same Root DIR. NB: Please recheck your your composer installation again if any error occurs.
Briefly here we will set up contents specifically static to utilize on our Mage store. Hence, Type “php bin/magento setup:static-content:deploy” to deploy static contents.
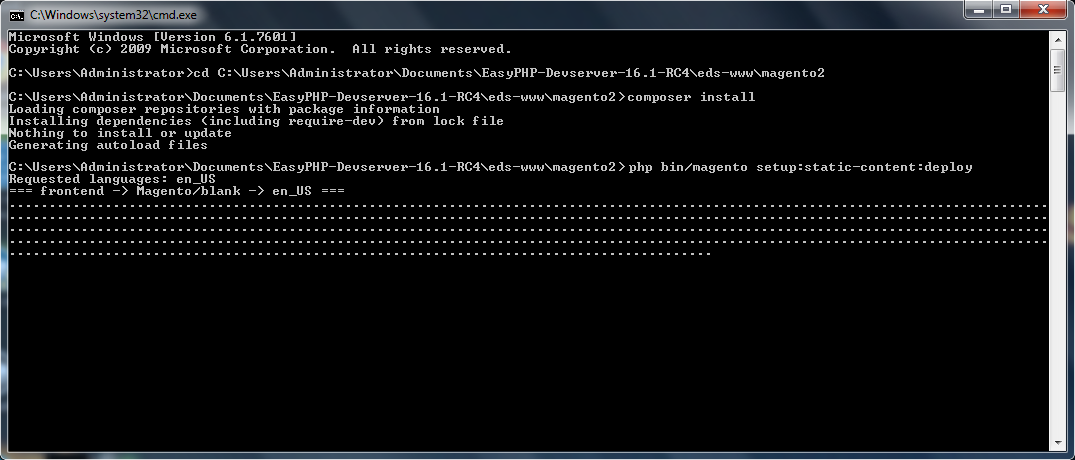
NB: Check your environment variables under php.exe and php.ini if any error arises.
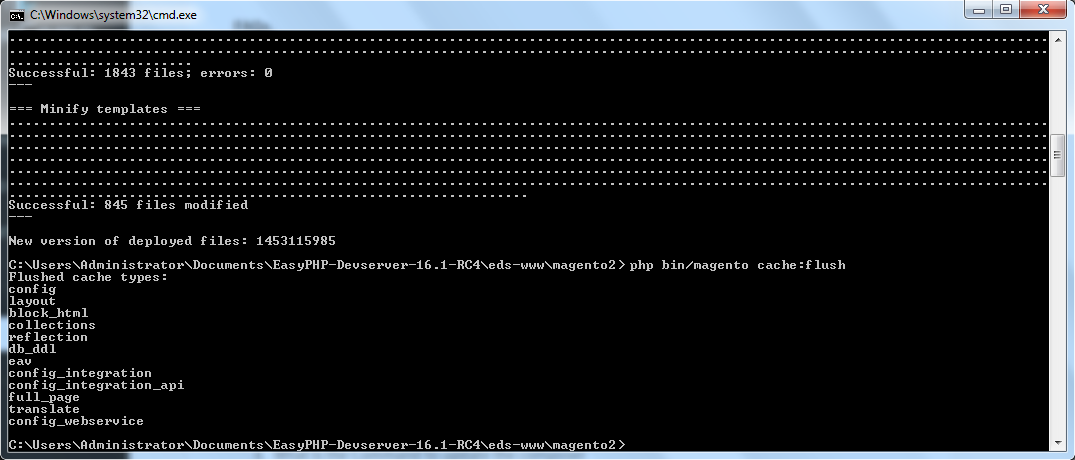
Now, In cmd prompt type “php bin/magento cache:flush” to Clear Mage cache.
Finally, type “php bin/magento indexer:reindex” to reindex Mage static blocks.
Last but not least to access frontend, browse and visit your store by entering address http://127.0.0.1:8888/magento/ . Also visit your admin panel under the following link http://127.0.0.1:8888/magento2/admin_aspiration.
This is it. Enjoy Mage in your localhost server!!!
Go back to Installing Magento on a localhost server Requirements Part 1
“In summary, installing Mage in localhost is not an easiest job to be done. These kind of job needs a lot of skills along with time. But there is not nothing to worry anymore. As Aspiration Hosting is providing dedicated Mage server with all development supports absolutely free with the hosting service. Our plans worth your every penny and begins from USD 9.99 per month.”
Tanzia Farin Chy for Aspiration Hosting